School profile
This step lets you customise your school's visual identity and configure the school calendar. This information is visible to parents in the mobile app.
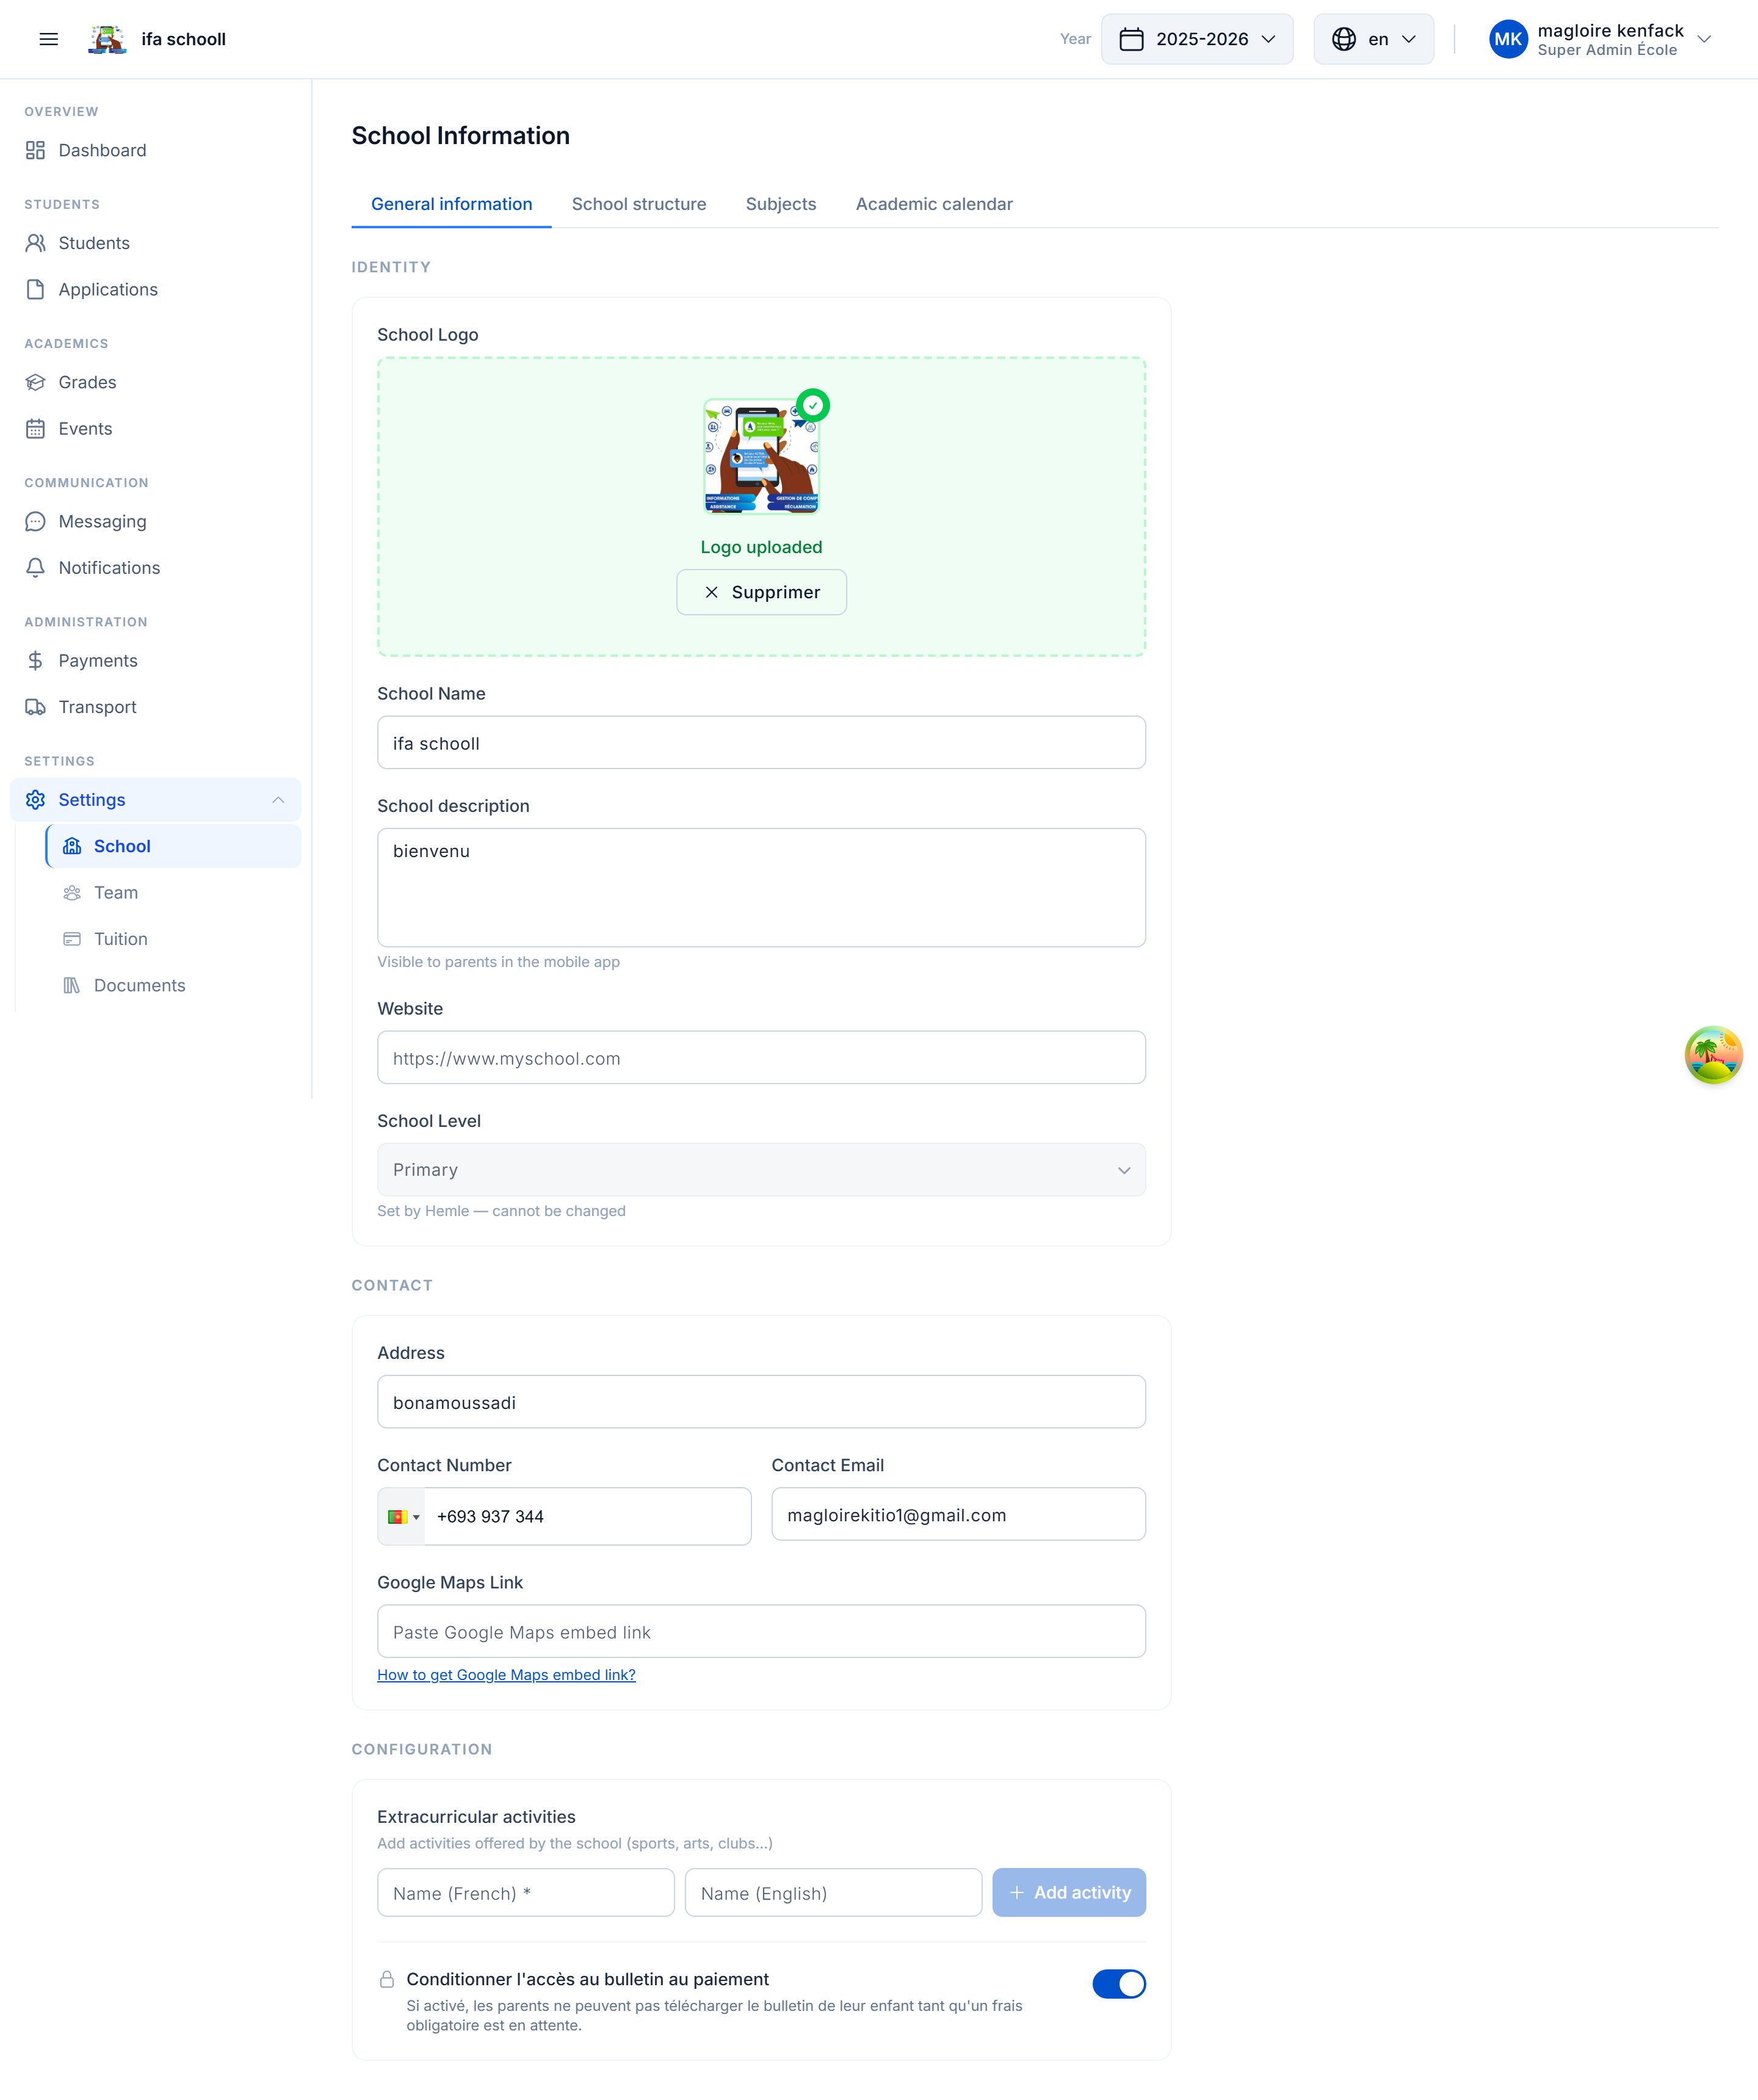
1. School logo
Drag your logo (or click to browse) into the upload area. The logo will appear on report cards, emails, and the public school profile.
Accepted formats: JPG, PNG, SVG — Recommended size: 200×200px minimum.
To remove an already uploaded logo, click the trash icon.
2. Profile information
| Field | Description |
|---|---|
| Slogan | School motto or tagline (e.g. "Excellence every day") |
| Website | Official school website URL (optional) |
| Contact email | Email displayed to parents |
| Phone | Main contact number |
| Address | Physical address of the school |
| Description | School presentation (visible on the public profile) |
| School level | Set at creation by HEMLE — not editable |
3. Enrollment periods
Enrollment periods define the windows during which parents can submit an enrollment request for their child.
To add a period:
- Enter the start date and end date
- Click "Add"
- The period appears in the list
You can add multiple periods (e.g. September intake + late January enrollments).
To edit a period, click the pencil icon — it returns to the input fields. To delete, click the trash icon.
Outside the defined enrollment periods, parents cannot submit a new request from the mobile app. If no period is configured, enrollments are closed.
4. Public holidays
Enter the public holidays for the current year so they appear in the school calendar.
To add a public holiday:
- Enter the holiday name (e.g. "Independence Day")
- Select the date
- Click "Add"
These days will appear in the calendar visible to the team and parents.
Terms and evaluation periods are configured from Settings → Academic year after onboarding.
→ Next step: Academic year